A Beginners Guide To Photoshop & Editing

This post should probably begin with a large disclaimer, I'm not a big lover of editing my photographs. It was a running joke during my degree just how much I disliked Photoshop and how I had absolutely no desire to learn about how to make someone grow a third eye. Now, fortunately because it's a program that I use on a daily basis, I've learnt how to address its complexities. I'm aware of how daunting it can look when you're new to editing. Today I'm going to be sharing exactly how I edit my photographs and breaking down the process, it's not as scary as it might seem.
CAMERA RAW
This is the programme that I mainly use to edit my images. It's so quick and simple that you can be done in a matter of minutes. Even if you've not shot in RAW you can still use this editing tool by opening up Photoshop and going to file > open > choosing the image and picking the camera raw option. I always recommend shooting in RAW as the images are so much higher in quality. Here is my editing process step by step;
ORIGINAL IMAGE

To take this image I had my camera mounted on a tripod and used a remote. It was incredibly dull day but by shooting on a tripod, it meant that I could still use ISO 100 and a large aperture to make sure all product names were in focus. On my camera display, this picture looked like it was perfectly exposed and as we can see it's slightly under. Relying on that display is never wise so it's important to check your images on your computer screen. In general, I prefer to underexpose my images slightly as then I can brighten them in the editing process. Over exposing an image in camera means that detail is easily lost.
EXPOSURE

TEMPERATURE

CONTRAST

BLACKS
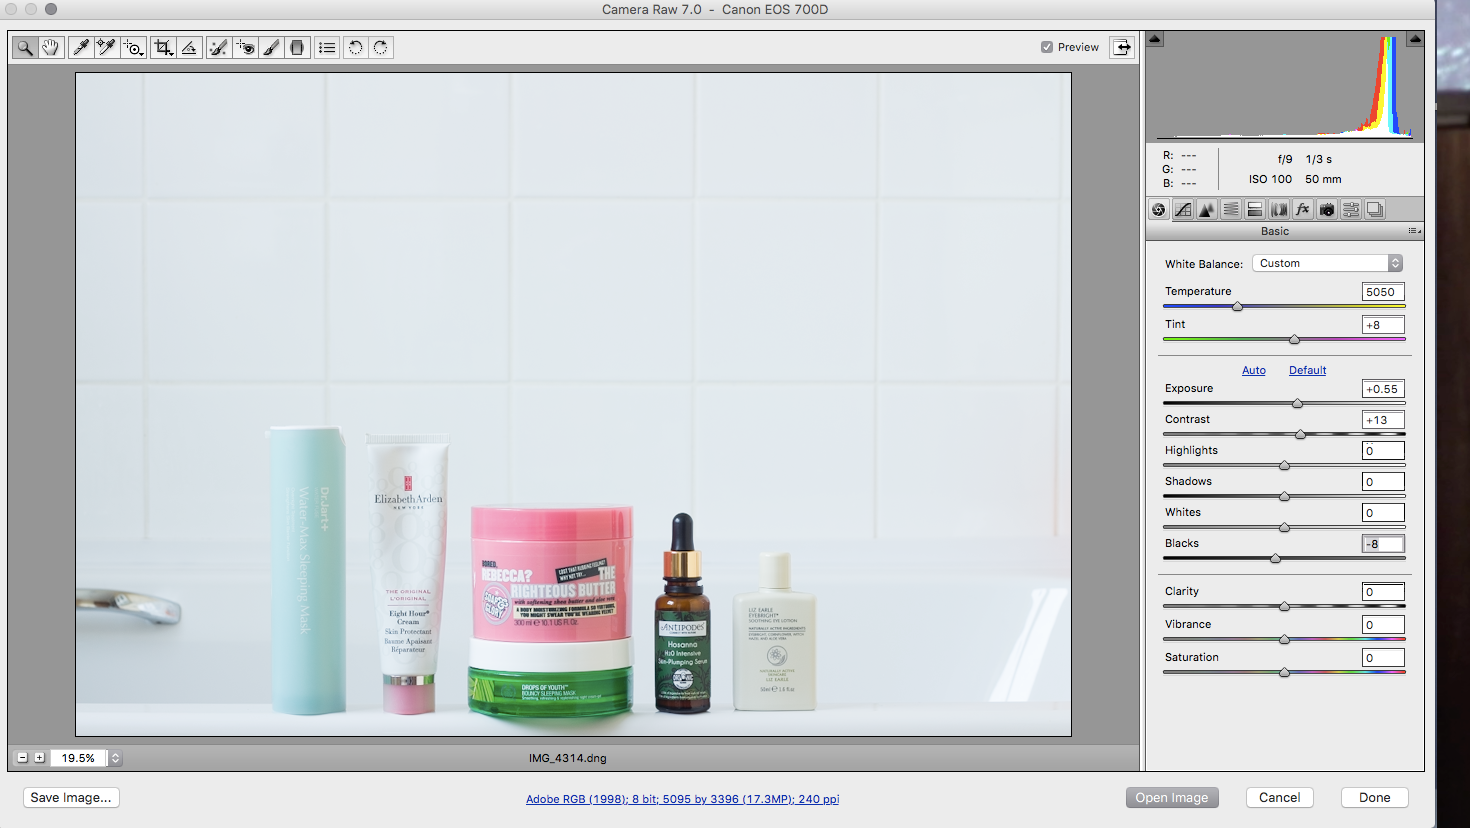
EXPOSURE: To get the exact exposure I want in a photograph, I always use this tool to make things look brighter. I don't like to add anything more than 0.5 as then detail can start to get lost. This is why getting the best exposure in the camera is so important, especially for still life images as then none of the detail is lost.
CONTRAST: I don't like to go overboard with the contrast option. However it's perfect for just making the white and black pop that little bit more.
TEMPERATURE: Something that you might have noticed is that I like having a really cool tone in my images. I alter the temperature to have a somewhat noticeable blue tone to them. Going too far with this function can make the whites & blacks in your image look a little off, so it's important to keep your eye on them.
BLACKS: When shooting beauty images, in particular. I like to play around with the blacks tool as this is usually what makes the writing on the products really pop. If there is a lot of black in the image it also helps to maintain that inky shade instead of it becoming washed out. This is a big issue when it comes to shooting on a white background.
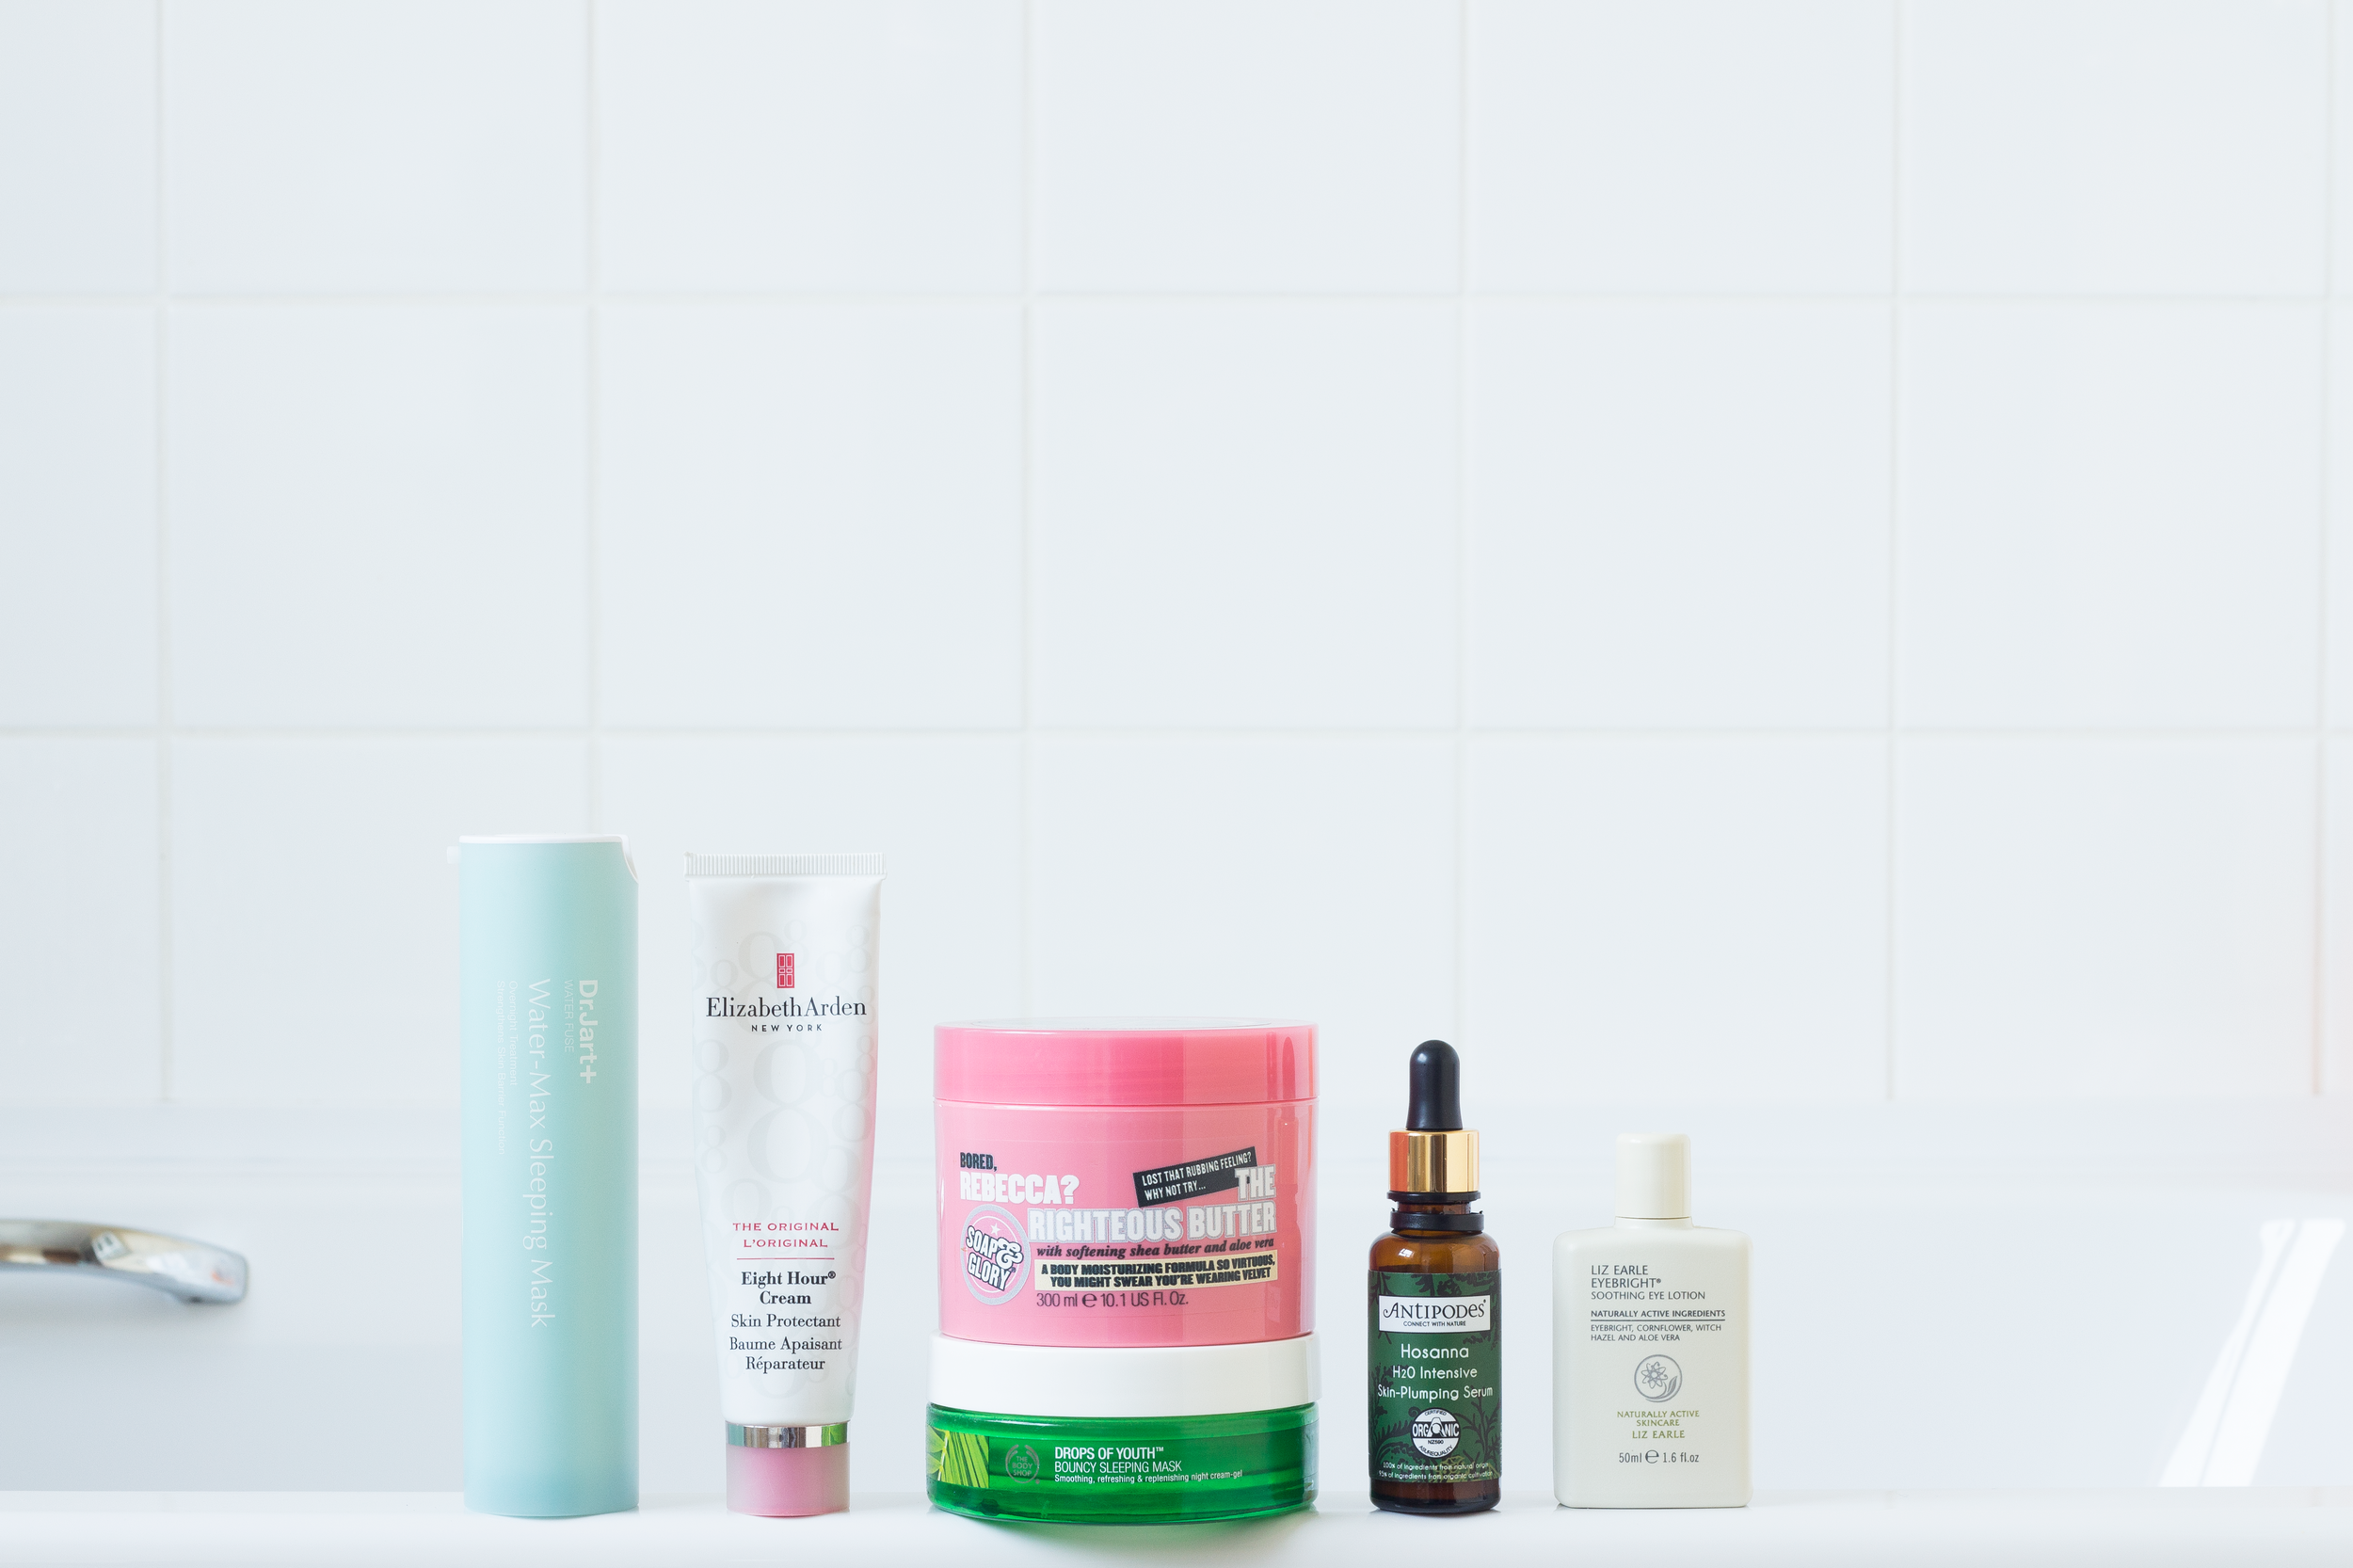
AFTER

WORKING IN LAYERS IN PHOTOSHOP

Mostly, I'm happy with how my images look just using Camera Raw but with this particular photograph, I felt like it needed extra work. If you press 'open image' that will open up the main Photoshop programme. Without working in layers when editing your images, you're damaging them. To open a new layer, you need to go to the bottom right-hand corner and click on the circle that is half white and black. This will open up the box of actions that you can see in the image to the left. There are a huge amount of options available, many of them I don't use.

BRIGHTNESS & CONTRAST

One of my favourite tools to use to really enhance an image is the brightness & contrast layer. Whilst I already used the 'contrast' tool during the camera raw stage of editing. I don't find it packs as much of a punch as this tool does. By only making these slight adjustments it makes the colours in the photograph so much more vibrant.
COLOUR BALANCE

When using the brightness and contrast layer, it can sometimes adjust the colour temperature so things look a little warmer. To open up the colour balance action, you need to click on that little circle again and select it. This will open up this box where you can adjust the sliders to achieve the colour palette that you want.
STRAIGHTENING THE IMAGE & CROPPING

After those two steps, this is what the programme looks like. As you can see in the layers tab there are two new boxes which contain the brightness & contrast layer and the colour balance layer. If you double click on them you can go in and edit more instead of opening another layer. Once I'm happy with the look of the image I always crop them to 800 W x 630 L pixels.

The crop tool can be found in the left-hand side tool menu. To create a preset crop box you need to enter the size at the top. This will create a box that you can then make smaller or larger using the shift key & holding down the mouse. In the original image, there were quite a few distractions like the bath hand rail and some glare so I've cropped them out.


SAVING FOR THE WEB AND FORMAT
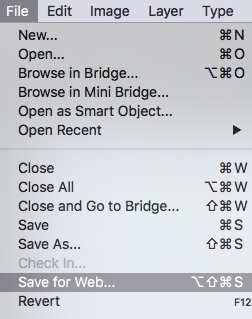

Once the image is edited and cropped it's time to save it. For years, I wasn't saving my images properly and getting frustrated with how they looked online. It's vital to use the 'Save for Web' option in the file tab. This will bring up a new window, I always make sure to save my images at 800 x 630 pixels, so they are properly optimised for the size of my blog. I also prefer to save them as a PNG file as I've found saving them as JPG gives them a slight yellow tint.
FINAL IMAGE

I hope that this post was helpful & broke down the scary Photoshop barriers a little!
R x
Check out: The Snug Blog, Blushingkay, Mrs James Recommends and The What Now Blog, you can advertise with me here.